Carved ornaments make your products unique
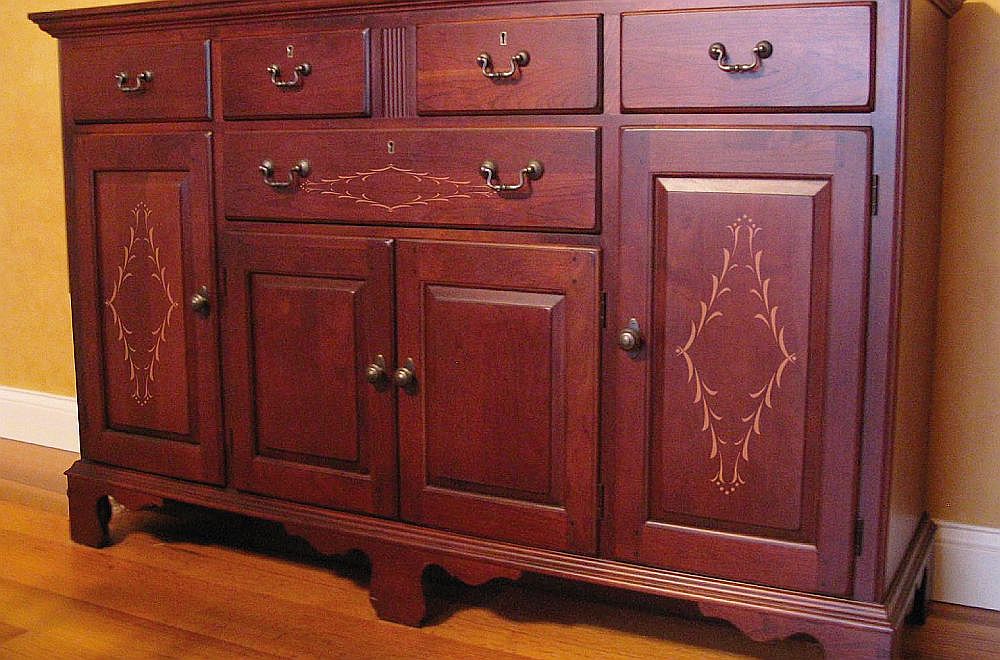
Thanks to CMT Orange tools, we are able to offer a unique and exceptional product for carving ornaments - 3D Router Carver System. Its simplicity and sophistication are really unique. Anyone can work with this tool.
Anyone can now become a sculptor and decorate their wooden furniture, doors, casings, cabinets etc. The use of the product and a location for your ornament is completely up to you.
Simple 3D Router carving system uses a router bit with a conical guide bearing and a specially shaped template, which determines the ornament and regulates the depth of routing. This combination secures a perfect look for your ornaments.
Check out this video before the start of your work, it will provide you with the basics of the 3D Router carver system. You will need a basic CRCS set and a router with an 8 mm collet, the whole system is easy to use.
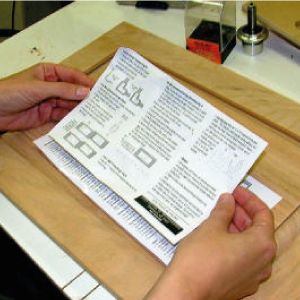
The basic CRCS set includes an operating manual with instructions and description of everything you need to know.
The CRCS set also includes one clamp for templates with a size ideal for ornamenting drawer fronts. Additionally, you can purchase a template clamp for doors, corners, frames, rosettes, and templates for pictures.
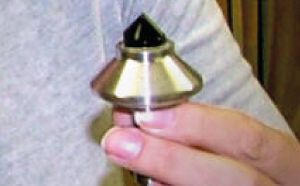
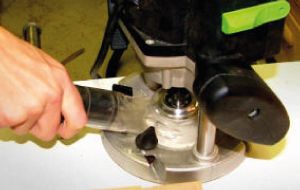
The bit is fitted with a conical guide bush with a bearing, this allows easy depth setting.
By moving the bit up and down along the template, you change the groove width and sculpt the surface.
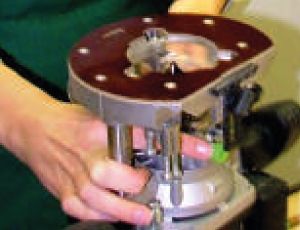
Clamp the bit into any router, for example, the CMT7E which supports 8 mm shanks.
You must reckon with the fact that you will need a sufficient height and a big enough opening in the router's base.
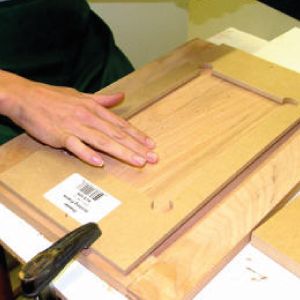
Now you need to clamp the template frame into the place, where you want to create an ornament.
Affix the frame with clamps and screw it into the base, just make sure not to damage the routed material.

Now place one of the two templates into the frame and rout out the carvings. Continue routing along the same template (rotate the template 4 times during routing). This will create a symmetrical pattern.
After routing along the first template, insert the second one and follow the same process as before.

The routing itself is surprisingly simple.
Just place the router on the template and put the bit into one of the cuts. By moving back and forth you create a groove with variable depth and width. The depth of routing varies thanks to the conical ring and a changing width of the template opening.
We recommend using a dust extractor when routing, this will help you to follow your work more clearly.
The resulting ornament is finely cut and precisely shaped.
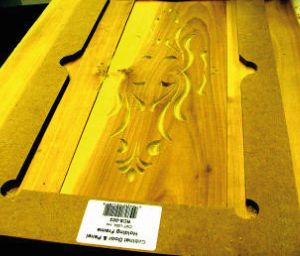
You may have to deepen the grooves in order to make the ornament more clearer and prominent after the routing.
Simply change the depth of the conical ring against the router bit and achieve lower depths.
When using larger templates (e.g.: for doors) you may have to alter the depth of routing. Try to make one groove and alter the depth of carving according to it.
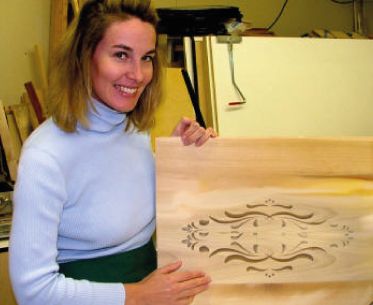
So, what do you think? Do you know where to use the ornaments?
They are suitable for interiors with wooden or rustic design or for nurseries.
You can also highlight the ornament using colours by macerating the material before routing. There are lots of ways of how to decorate furniture, it all depends on your imagination.
And watch the VIDEO explaining how to properly work with the template.
Back to what's new