The Tidebond Adhesives have been gaining more and more fans in the Czech Republic for almost a year and a half
 The Titebond Adhesives have been gaining their fans in Czech Rep. for almost a year and a half. It’s not that they would be produced only recently but because they were sold only in US or Germany. However, manufacturers of musical instruments and other woodworkers have been ordering them because of its properties, despite its poor accessibility.
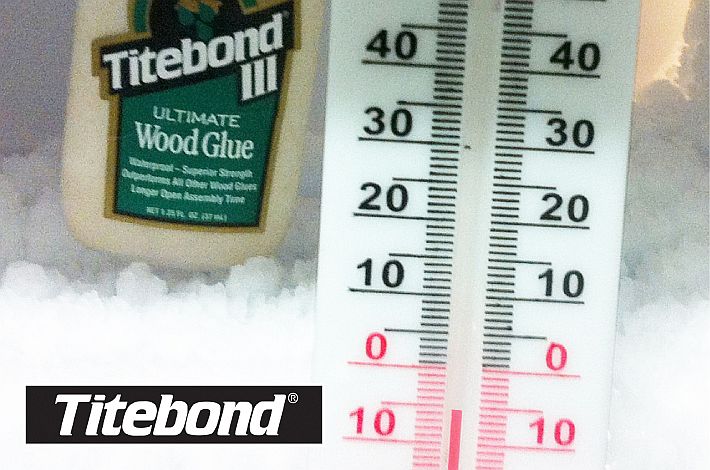
In today’s article, we will test the effects of frost on the Titebond Ultimate glue.
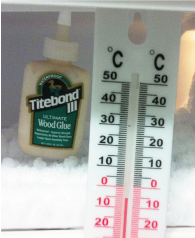
We put Titebond into the freezer for 3,5 hours. Wondering what -5°C will do with a glue?
Winter is coming and most importers are ceasing to deliver dispersion adhesives for wood in fears of the product getting frozen, which can lead to a creation of lumps in the glue, reduction of strength and separation of the main components in the adhesive.
Titebond III Ultimate Test
1) Freezing the Titebond glue
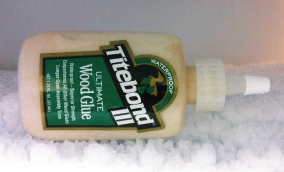
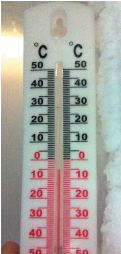
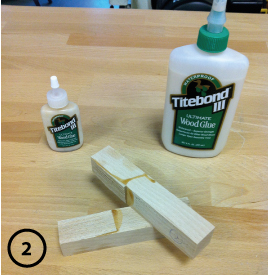
We put a sample of Titebond glue 37 ml into the freezer right on the ice. The temperature was, during the whole test, -5°C. The small sample was ideal for quick freezing and also the prolonged influence of stable freezing.
2) Testing the consistency after removing the glue from the freezer
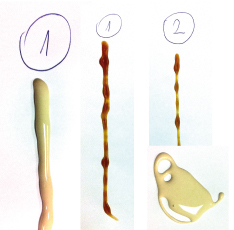
After 3,5 hours we removed the glue and tested its properties. The consistency of the adhesive was the same, without noticeable changes in fluidity. The sample doesn’t contain any frozen particles, there are no lumps or even change in colour. Sample no.1 is the 3,5 hour frozen glue. Sample no.2 is a sample of a new adhesive.
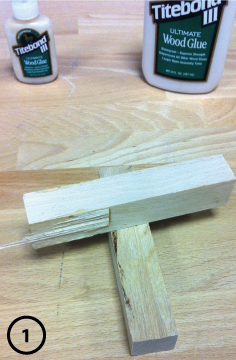
3) Creating a bond with overcooled glue
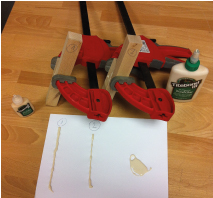
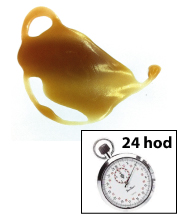
For the next step, we created a glued joint, which has been frozen and is not yet aligned with the surrounding temperature. The joint was glued approx. 2 min after removing the glue from the freezer (which breaches the two principles of bonding). Firstly, the principle of glue overcooling was broken and then the principle that the glue shouldn’t be different temperature from the bonded material. The actual temperature difference is about 20 ° C. At this time, the glue cannot bond the joint perfectly because of expansion and condensation. The bonded area is 27 x 53 mm. We left the bond to harden for 24hrs.
4) Making a bond with a room temperature glue
A different bond was created simultaneously, but under ideal conditions like equal temperature of glue and glued material. Bonded area is 27 x 53 mm. We left the bond to harden for 24hrs.
5) Evaluation by separating the joints
After complete hardening, and establishing the properties of joint no.1 (frozen glue joint) and joint no.2, we have separated the joints. We wondered how strong the individual joints would be and how would the strength manifest itself.
Sample no.2, (the bond created under ideal conditions) – the break is visibly outside the bonded area. The bonded area is not visible anywhere. The joint is 100% strong.
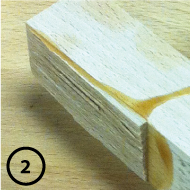
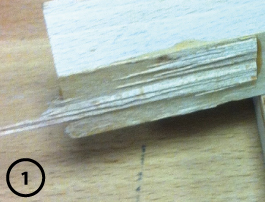
Sample no.1, (the bond created under bad conditions) – the joint is 75% strong, according to the Titebond strength scale. In picture no.1, the glued surface is clearly visible, however, in picture no.2, the wood itself broke of the opposite piece.
Back to what's new