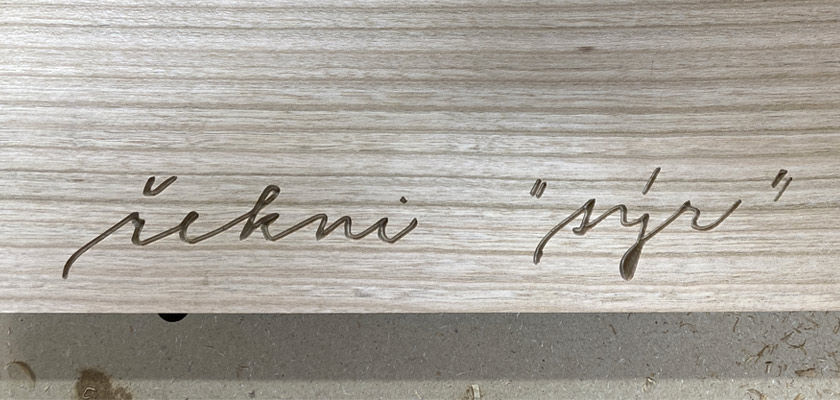
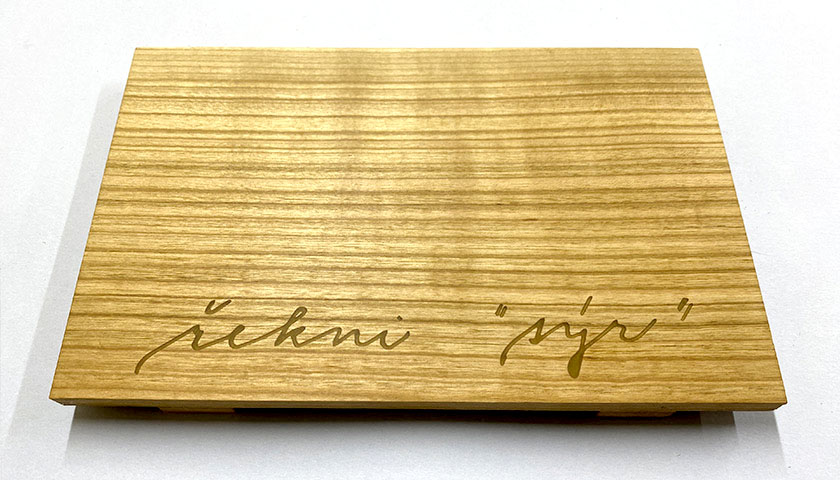
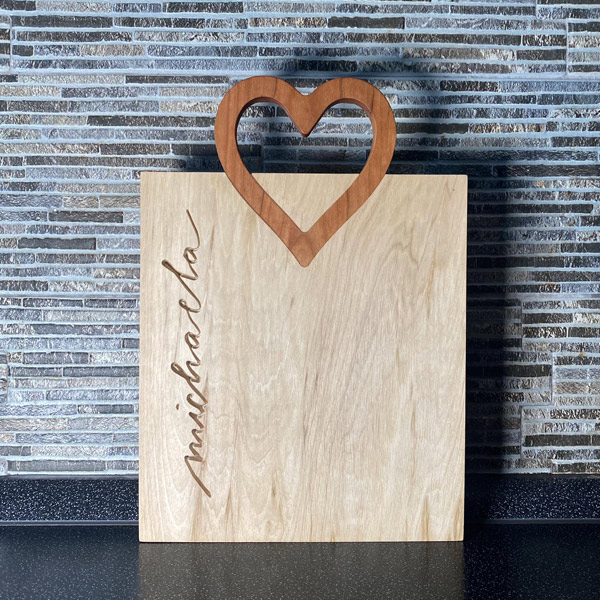
How to make a stylish serving board with your own text on it? In this article, we will show you how you can easily and neatly decorate a serving board or just about any other wooden accessory with an inscription on it. And what is more - to make the text in wood last and not get gradually scratched or washed out.
Engraving the inscription and then filling it with epoxy resin is the perfect way to do that.
Epoxy engraving has a unique look and unlike text only written on the surface, it is more resistant to external agents and does not get worn down by use.
Tools needed
Ideal for engraving is the CMT V-Grooving Bit - 35° D6x9 S=6 HW. It is extremely sharp and precise and there is no risk of burning when using it. For the eventual flushing of the surface, the IGM Surfacing Router Cutter TC knives - D60x12 L80 S=12x50 Z3will come in handy. It has three cutting wings and can do high material removals really fast.
Material
For our project, we used sweet cherry wood. We also needed silicone acetate, epoxy resin, pigment for colouring (in our case yellow), and also mineral oil for finishing.
Preparation
The inscription was made by hand and afterwards converted into curves. We then imported the final vector file into a computer program, in our case Fusion360. In the program, the vector was converted into G code, which controls the CNC machine.
Making the engraving
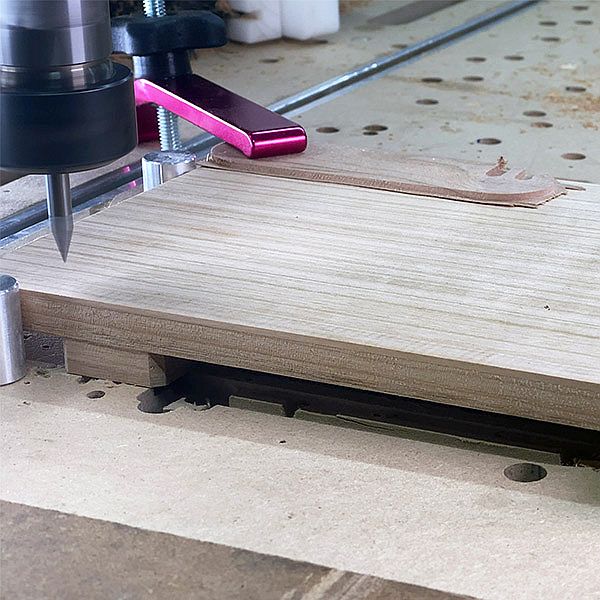
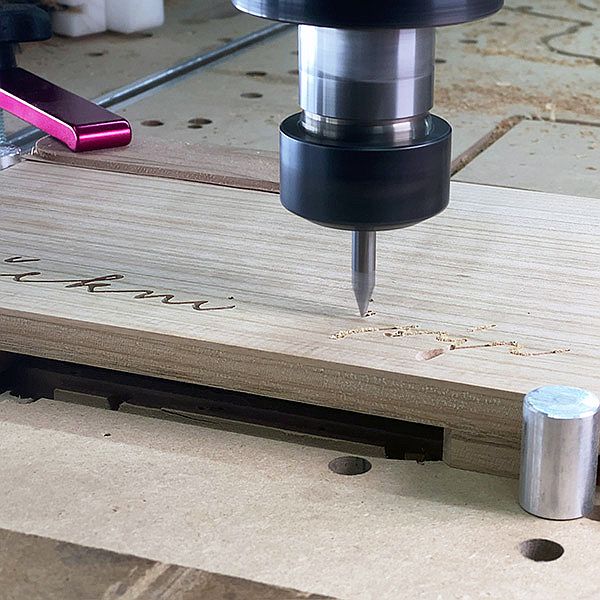
1. Engraving the text in wood by CMT V-Grooving Bit
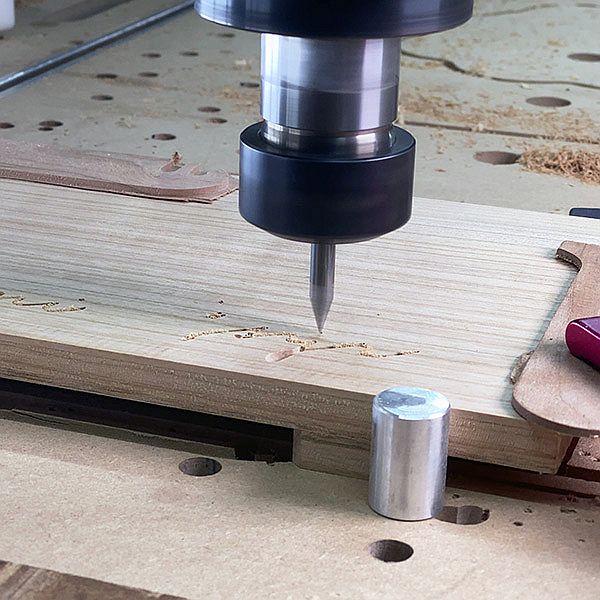
- Spindle Speed 18000 RMP
- Cutting Feed Rate 0.9 m/min
- Feed Per Tooth 0.05 mm
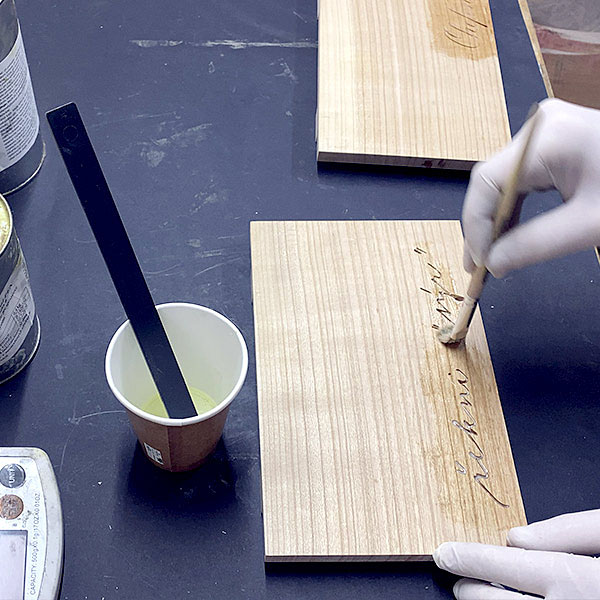
The very first step is the engraving itself.
The routing process will run twice – the first one carries out the rough routing of the text and then the whole process is repeated to clean the rough groove. This makes sure that we have a precise cut and no additional smoothing is needed.
We used the CMT V-Grooving Bitto make the text line. We chose it because the line which we were engraving was rather thin, and the 35 ° angle ensures that even the smallest details are precisely cut. The recommended revs for the engraving are 18000 RPM with the Cutting Feed Rate of 0.9 m/min and Feed Per Teeth 0.05 mm.
2. Applying the Epoxy Resin
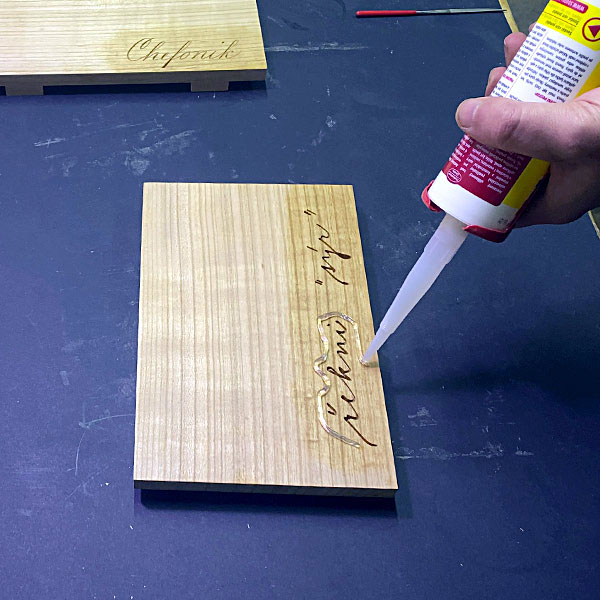
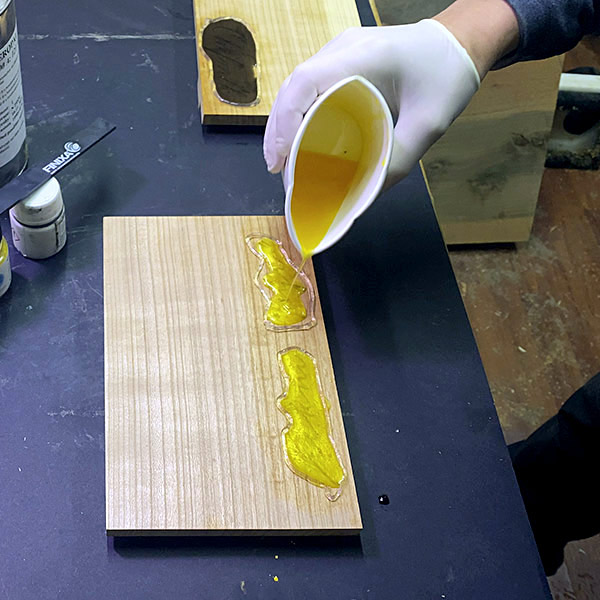
Prior to pouring in the epoxy and pigmentation, it is necessary to apply the priming coat to prevent colouring of the wood fibers so that the line of the text is sharp and clean. We then mark a line around the inscription using the acetate silicone to prevent the epoxy from spilling. We prepare the epoxy, mix in the pigmentation and apply it to the area determined by the silicone.
3. Flushing with the surfacing router bit
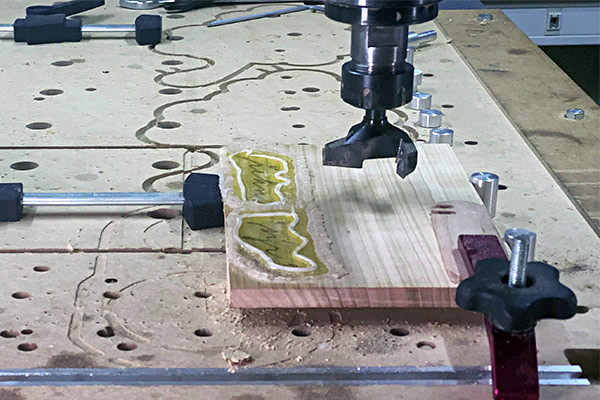
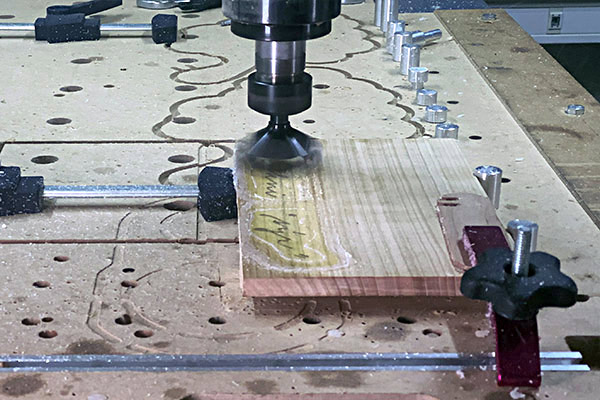
- Spindle Speed 12000 RPM
- Cutting Feed Rate 3.6 m/min
- Feed Per Tooth 0.1 mm
After the epoxy has set (approx. 5 days), we remove the excess material using the IGM Surfacing Router Cutter – that significantly speeds up the finishing process. The recommended parameters are 12000 RPM with the Cutting Feed Rate of 3,6 m/min and Feed Per Tooth 0,1 mm.
4. Final refinement and applying the mineral oil
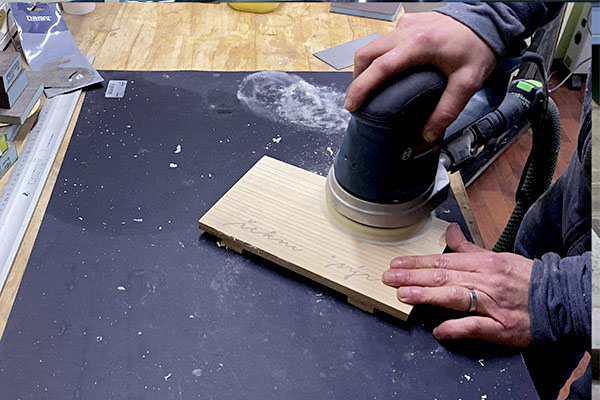
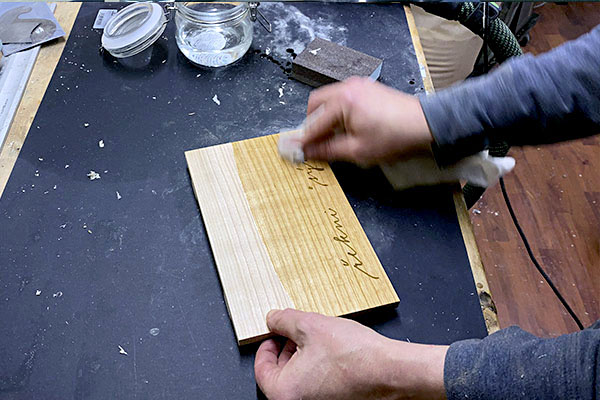
In the end the surface finishing is done – we use the eccentric sander to flush the surface of the board properly and after that we apply the mineral oil.
And we're done. Let’s go serving!
We thank Lukáš Bláha, the author of the project, for collaboration.
LB CNC Woodworking
Design and production of wooden accessories
Each piece is an original
LB CNC Woodworking makes custom original wooden items.