Step-by-step dowel joint production
To properly join furniture with dowels, you will need to know the proper procedures, have the correct jig and the right attitude.
You will need the following:
• IGM FKP Boring jig
• A cordless drill or an Aku screwdriver
• IGM Boring spindle
• Drill D=8 mm
• Dowels D=8 mm
• A pencil and some glue
And the necessities:
Furniture parts or the whole corpus, D8 mm dowels, Allen key, a pencil and some glue
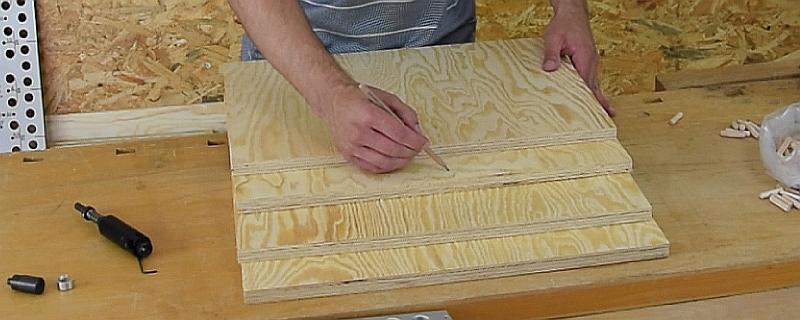
Step no.1:
Mark out the front part of the joint on a part of furniture you wish to join with a pencil. Place a mark distinguishing the front part. Be sure to draw it on the inside of the board.
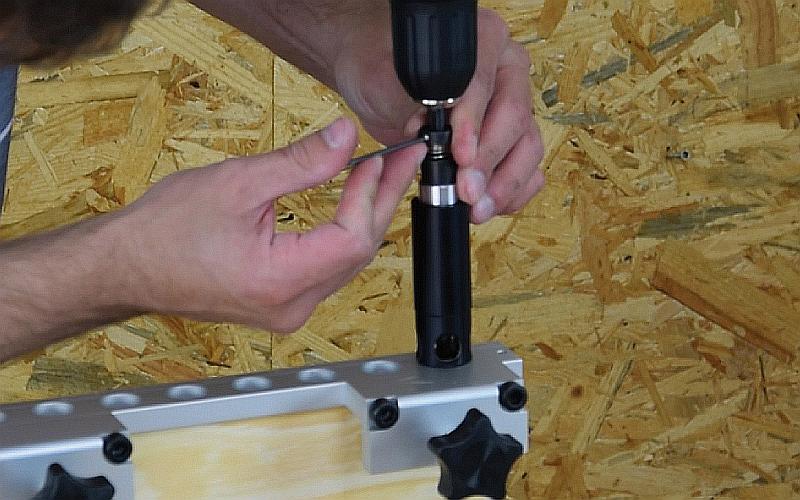
Step no.2:
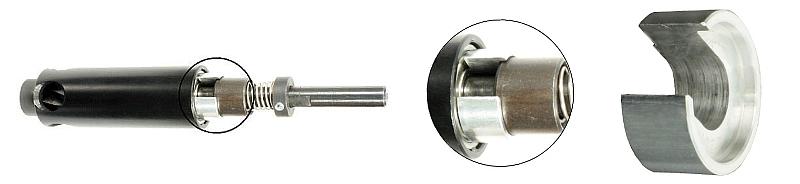
Clamp a dowel drill into the IGM boring spindle. Use the two worm screws on the chuck to properly clamp the drill. The drill has a flat surface grounded on the shank. That surface works as a bearing surface for the two worm screws. Securely screw in both worms to clamp the drill properly.

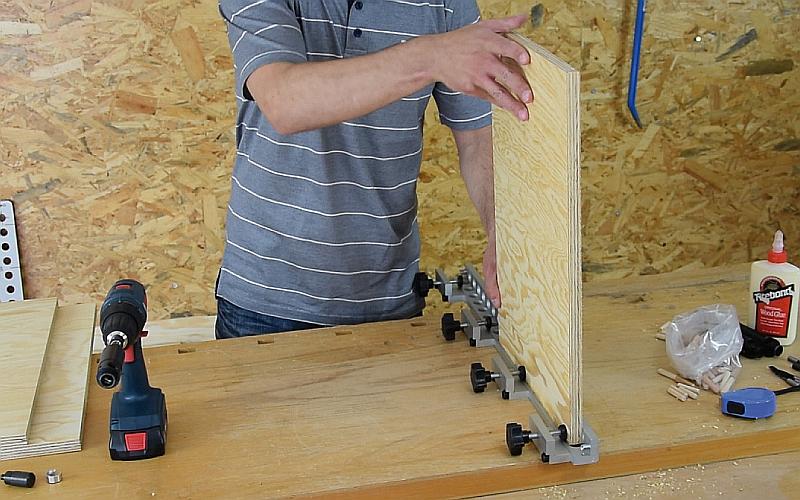
Step no.3:
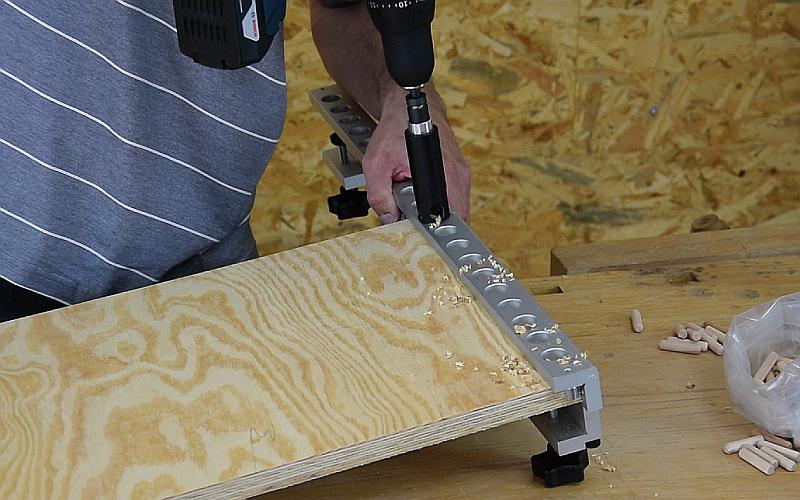
First, we will drill dowel holes into the surface. Clamp the IGM jig onto your workpiece. Follow these two steps to correctly clamp your workpiece: the workpiece has to touch the front stop of the IGM jig and the holes in the IGM jig have to be placed on the inner side of the workpiece. Make sure to clamp the IGM jig along its whole length.
Step no.4:
Now you have to set the drilling depth on your IGM boring spindle. Place the ring for quick adjustment of depth under the casing of the spring. Insert the spindle into your IGM jig and lower the drill onto the workpiece. Set the depth with the stop ring on the shaft of the IGM spindle. Use an Allen key to release the worm on the ring. Lower the ring onto the desired depth secure the worm properly. The depth is now set by the ring and the spring casing. There are indentations every 5 mm on the shaft of the spindle. We have selected a depth of 15 mm for a workpiece of 18 mm. That means 3 indentations on the shaft of the spindle.
Step no.5:
Fit your drill with the IGM spindle and drill out the holes into the surface. You do not necessarily need to drill the holes next to each other. Drill the first two holes on the front edge and continue drilling using the two holes in the IGM jig. This will create a pitch of 96 mm between the dowels. When you're done, screw the jig of your workpiece. If you're drilling the whole corpus, continue symmetrically reversed on the other side of the piece.
Step no.6:
Before drilling the other side of the piece, remove the ring from the bearing. This will automatically change the depth to 22 mm.
Step no.7:
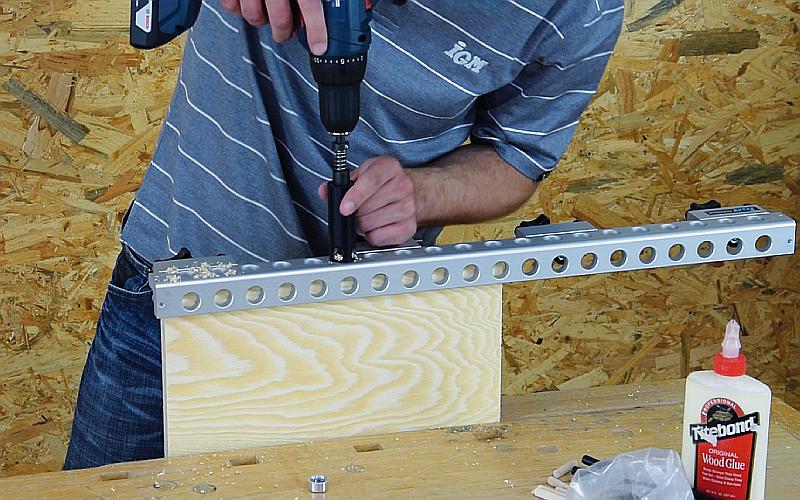
Now clamp the IGM jig onto the other workpiece so that the clamping flaps point into the centre of the corpus and the front edge of the workpiece is stopped by the jig stop. For a more effective removal of waste, we recommend to drill out the holes in two steps. To drill holes into the edge, remove the jig from the workpiece. If you're drilling the whole corpus, continue symmetrically reversed on the other side of the piece.
Step no.8:
Now you can place the dowels in the drilled out holes. Apply a layer of glue before inserting the dowels. When the glue has set, try to join the pieces together without glue to make sure the fit is right.

Step no.9:
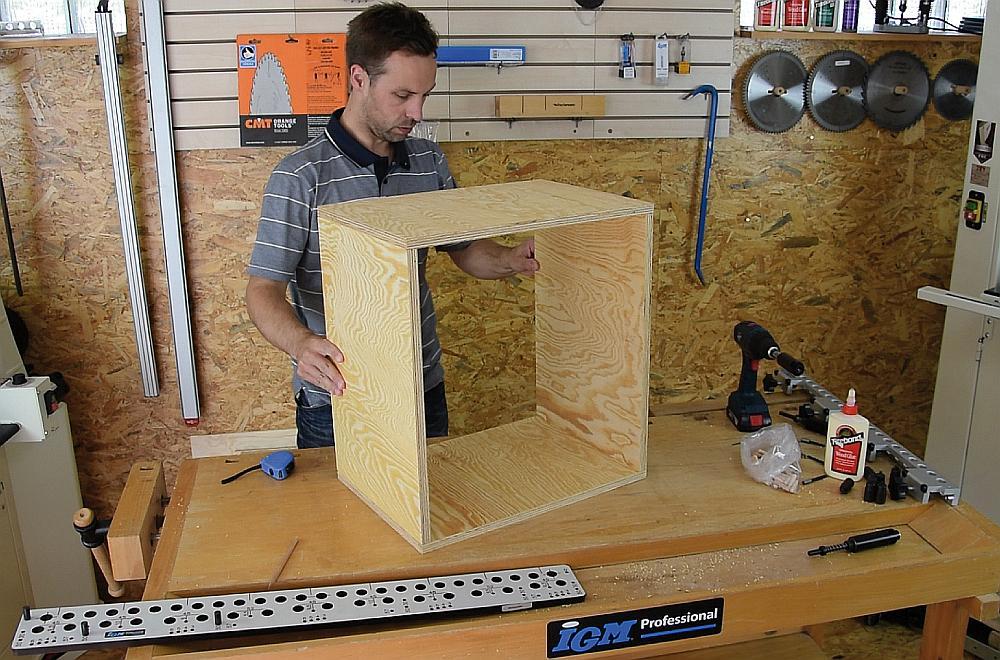
If it seems the fit is correct, apply glue into the holes of the surface piece. Join the remaining parts or corpus and secure it with a clamp. When assembling, watch out for your marks you made earlier. All edges have to face the same way and all inner edges must face the centre.
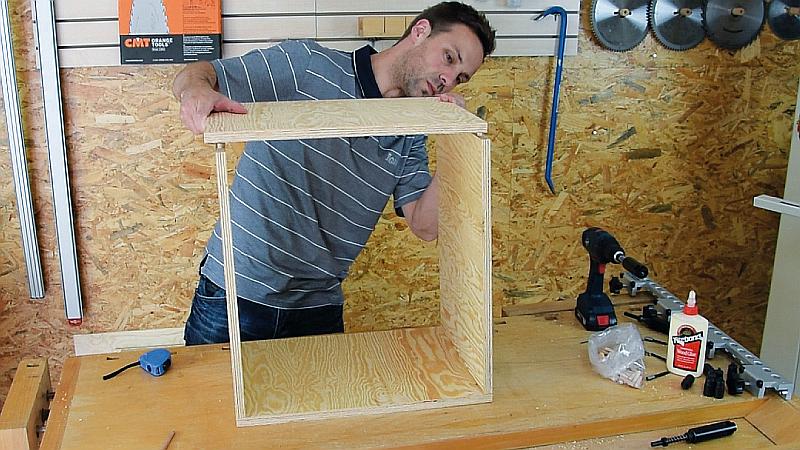
The job is finished when the glue dries out and you are left with a perfect dowel joint on the edge. Doweling is ideal when working with LTD, wood or plywood. The main advantage of dowel joining is its precision and strong hold.
Back to what's new